Thursday, July 31, 2014

Solar Lighting: Cut the Cord!


There is something about summer nights and outdoor lighting. It is a beautiful marriage that we enjoy during longer outdoor hours.
I love night time accent lighting but it could be costly. Adapting to inexpensive solar lamps is easy but the characteristics of them are just way too common. You see one, you seen 'em all.

After seeing so many repurposed solar chandeliers and trying one of my own, there was a realization... hey, why not modify all kinds of actual lighting fixtures for everywhere? At the garage, the garden shed, and the side tables! Just cut the cord!

I set out on a mission, gathering a few lamp pieces in the garage storage, going to the thrift shop and Walmart and grabbing some tools. HA! This is too easy AND exciting!


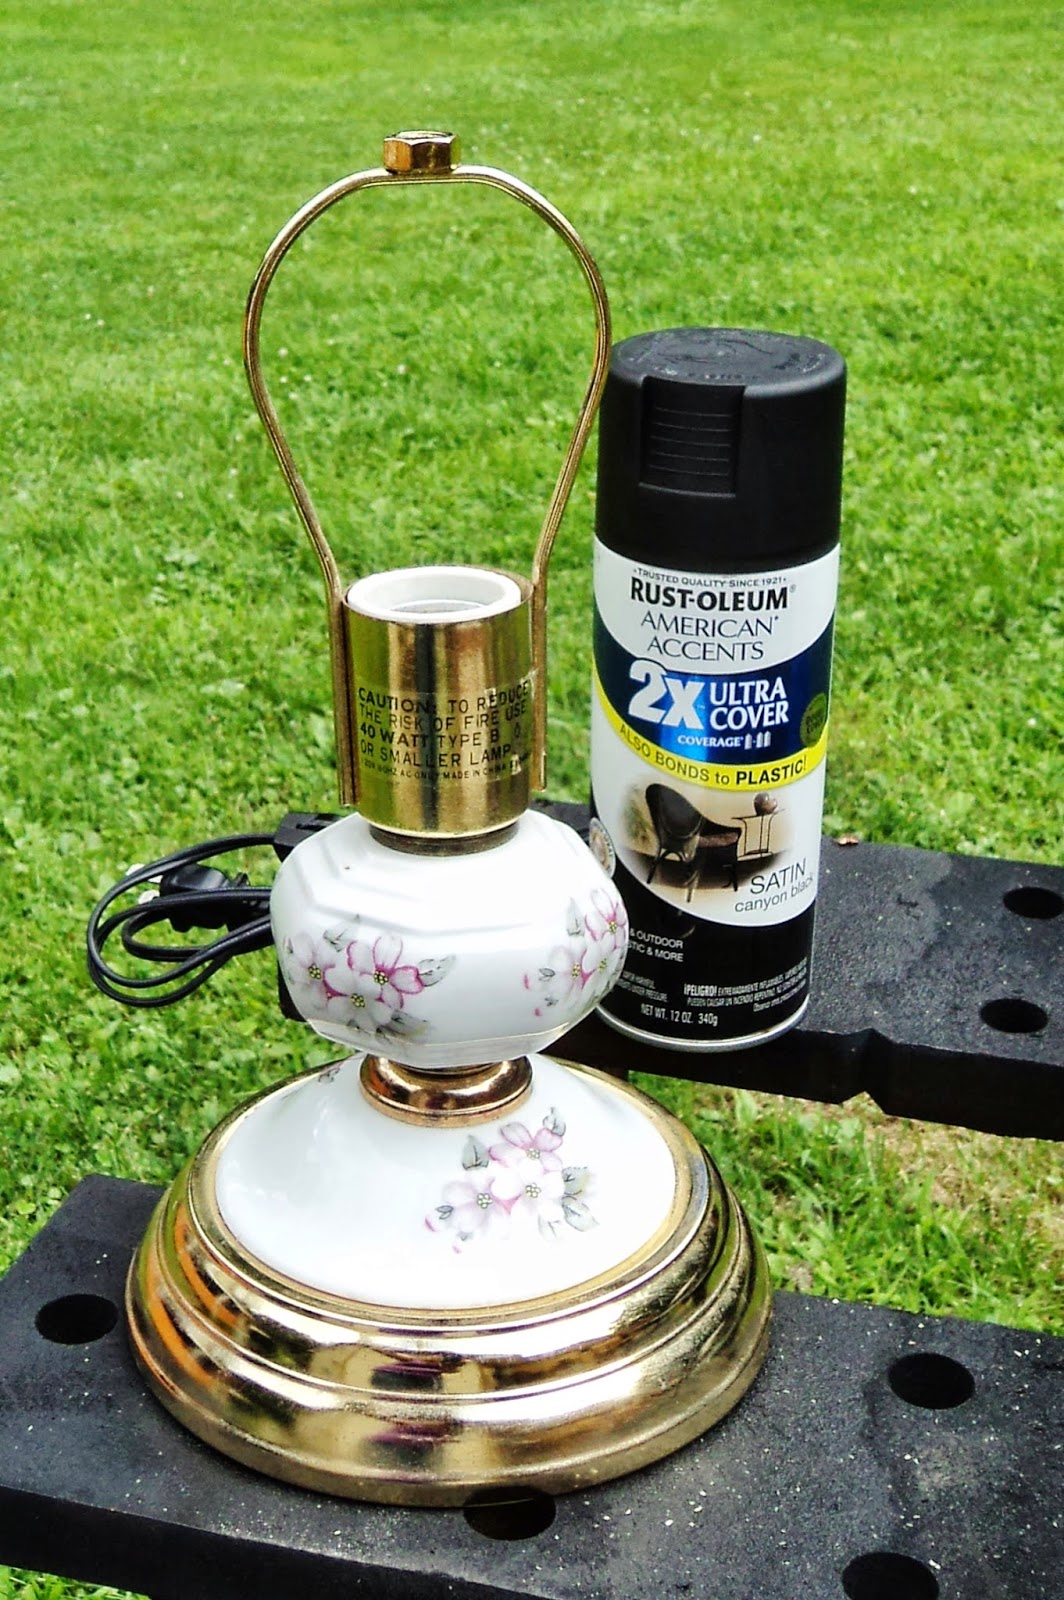
Exhibit A: Cute little porcelain lamp. $3.99 @ Thrift Shop  


Exhibit B: Brass candle holder wall sconce.  $.99 @ Thrift Shop 


I like it better upside down for outdoors, but being a solar unit, that is not happening. 


Exhibit C: Ceiling fan light fixture. $2.99 @ Thrift Shop. 


For the porcelain lamp, I took it apart, discarding the electrical parts into my electrical junk box.  

Then painted the porcelain black.


Snagged a solar lamp I had in a deck planter and some waterproof epoxy weld.  Then globbed the stuff around the base of the plastic globe. 


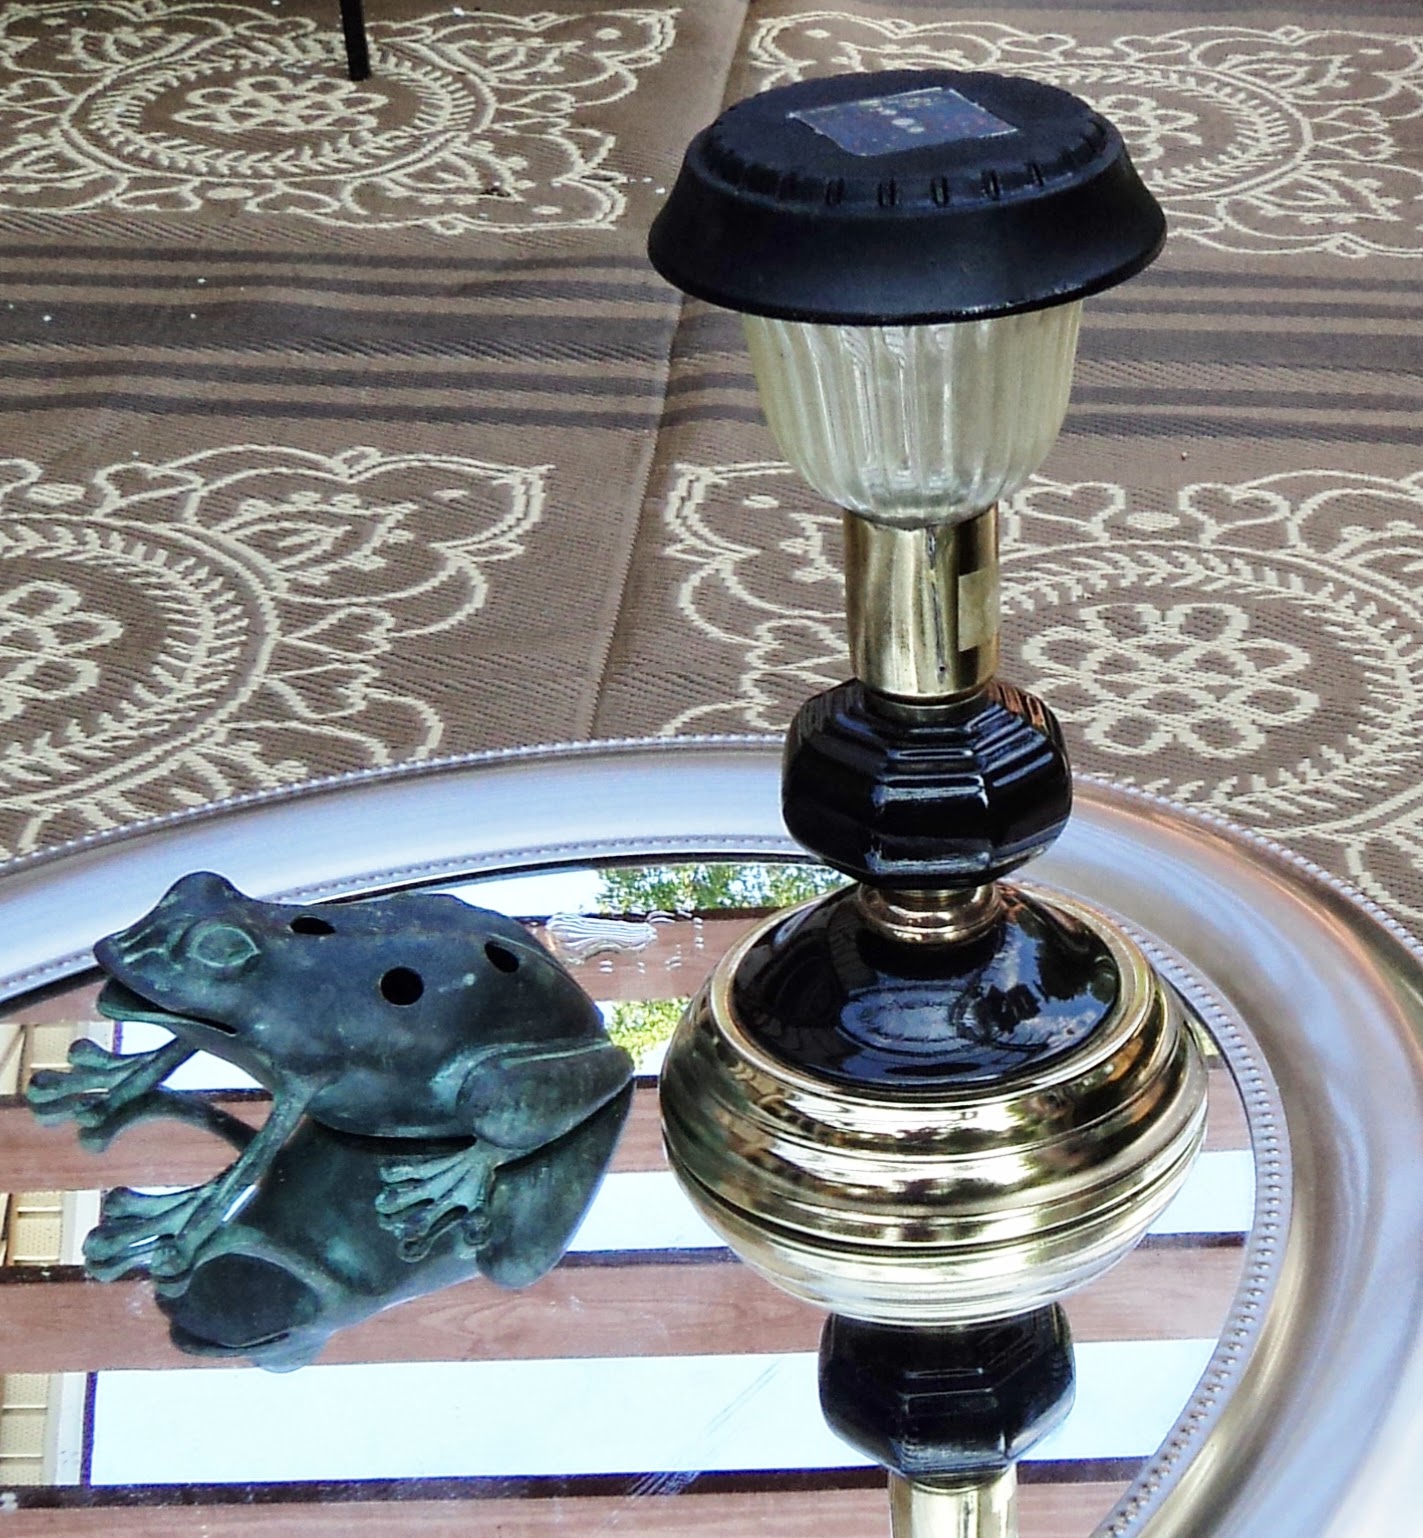
Put the lamp back together after the paint dried and wah-lah. 


At dusk, the side table light was auto on!  


For the candlestick wall sconce, I bought two of the small solar lights. 


Painted the candle holder...


and when the paint dried, globbed on the epoxy and stuck the solar light sticks in the holders. 


Too stinkin' easy! 


Auto on at dusk and... it doesn't look like a basic solar light in the ground. 


For the ceiling fan light fixture turned solar chandelier ... just five solar lights


A ceiling light fixture plate to attach a link chain to hang the fixture from. 


Some paint for the ceiling plate and indoor/outdoor caulk. 


To attach the chain to the fixture, I drilled a hole through the screw rod and linked up the chain.


Then globbed caulk around the base of the plastic globes. 


Placed the globes into the fixture where light bulbs originally went.
(kinda looks like a kaleidoscope there... that's cool)


Then mounted the plate on one of the pergola beams and hung the fixture to dry the caulk thoroughly... 


to replace the solar tops. 


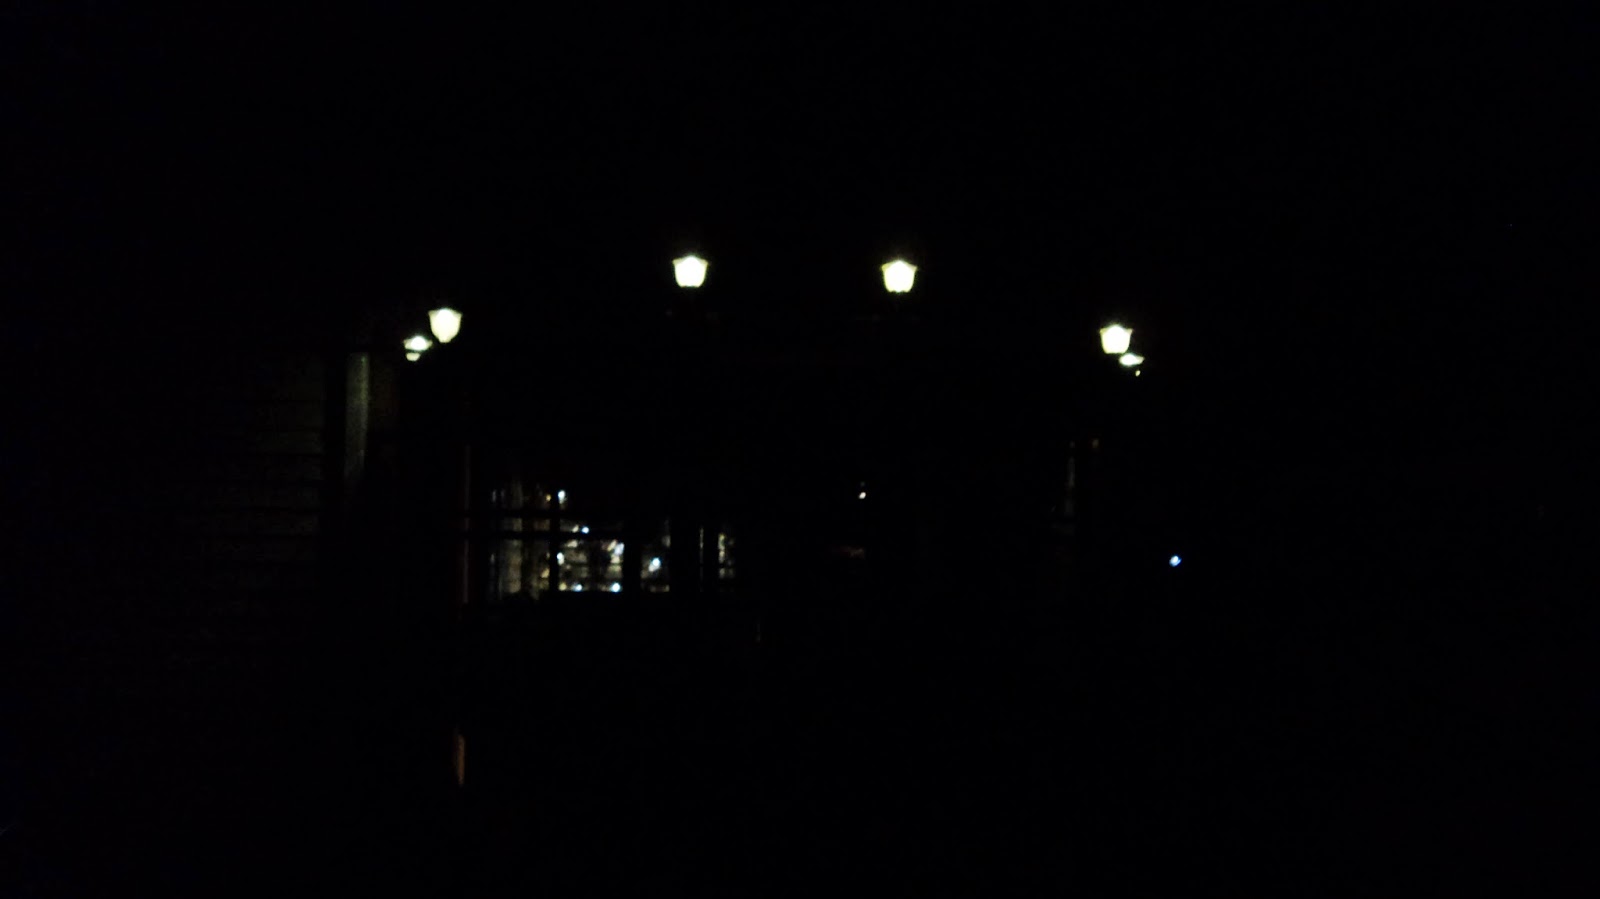
Then enjoyed the lighting over the deck bar. 


I got this wrought iron room divider with 18 candle holders throughout it for a mere $8 at the Thrift Shop. I mounted it on a wall at the deck. Then removed the candles and placed the small solar light tops in each.  As a wall of lights, the deck is brightened up. 

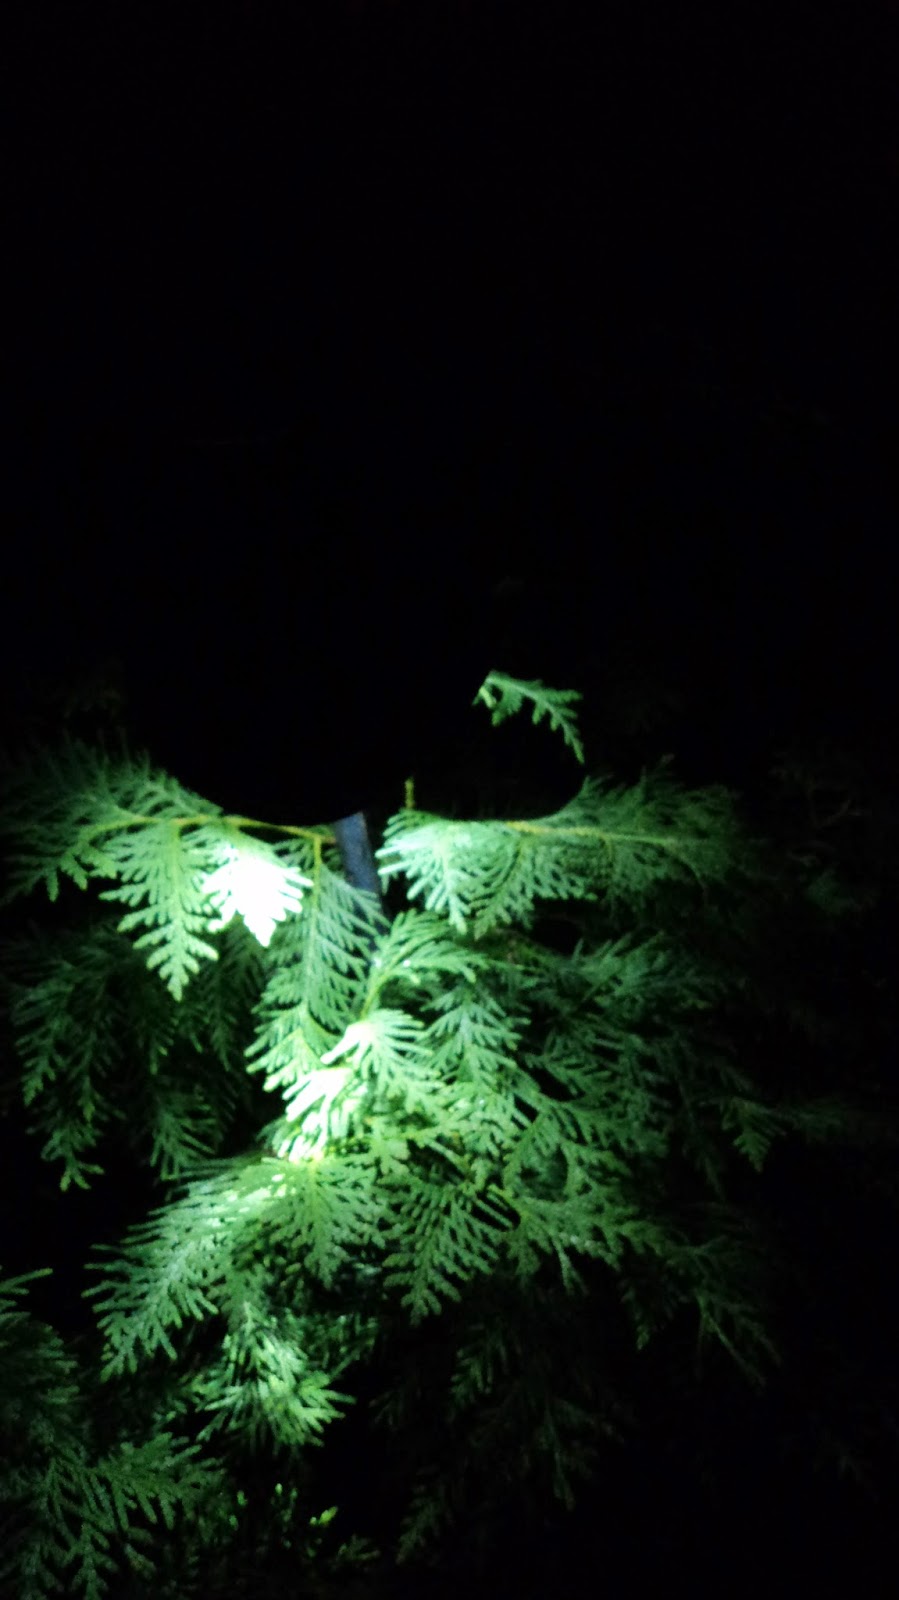
I use solar lights everywhere; hanging and taping them into the trees and landscaping.  


On plant hangers... 


drilled holes into the 4x4 posts for them on the BBQ deck...


and stake them around the pond which makes the frogs happy because...

 it helps them eat dinner.


I have a few more fixtures to add here after I gather some more parts for them. Stay tuned and go ahead and cut some cords!  


Update:  The new post "Cut the Cord" Part 2 is finished!  Posted here----->  


~~~~~~~~~~~~~~~~~~~~~~~~~~~~~~~~~~~~~~~~~~~~~~~~~~~~~~~~~~~~~~~~~

Featured at

Be Awesome Link Party No. 8


Sunday, July 27, 2014

Country Kitchen Island

upcycled ...from a coffee table


It was just an idea.


I bought this coffee table from a thrift store for $45 and used it as a side table in between two large recliners. It was perfect for storing throw blankets. I refinished it in this lighter golden oak because the former finish was as dark as the walnut inlays.  The walnut didn't show through as dramatically.

Since then, I revamped new "old" furniture for the living room and this had to go.
The table is a good solid piece with great space and storage. Someone will want it. 
I never liked the steel feet on it and intended to change them at some point. 

 In fact I disliked them even more after  breaking and splitting my toe on the corner of this piece just prior to this photo last week.  I ran into it with bare feet. 


I had a photo of my older son making an apple pie at an old porcelain top oak cabinet when he was young. His fiancee saw it and claimed she wanted an island for their small country kitchen.  She said they were going to invest in one. I told her, "No don't! I've got something just the right size and I'll make you one!"


I set up for the materials to build a base for the table.  She wanted it on castor wheels and it had to have a towel rack. 

4- 24" prefabbed turned legs 
4- castor wheels
4- leg plates
2- round curtain rod brackets
8'-  3/4" dowels for leg supports
6'  6"x 3/4" oak board
2- hammered barn style door handles
Wood screws   
Black paint/stain
Woodglue 


I painted the legs and attached them with the leg plates in each corner. Then cut my dowels for leg support.


Drilled for the dowels at 7" from the bottom.


Added the leg braces without gluing yet.


Drilled holes for the wheels 


Inserted the castors 


Mounted the curtain rod brackets and painted another dowel for the towel rack.


Painted two copper handles black ( to match the handles on their kitchen cabinets). Cut a six foot oak board into three  24" pieces for slat shelving.


Glued in the dowels for leg supports and held with a ratchet tie down while drilling pilot holes for the shelving.  Then used screws to attach the boards from the bottom of the dowels. 


After the glue dried, painted the boards and giving the corner joints complete coverage. 

The towel rack makes a great handle to glide the island on its wheels.


I did nothing to the original interior. (Sporting the color the exterior used to be). 

I decided my son could use this large basket to hold his garden veggies on the shelf area while he cooks.

So I  trimmed and hot glued the frayed areas. Sanded the entire basket, stained and clear coated it.  The stain was the same warm Golden Oak that I did the coffee table in 5 years ago. 

And they go together well. 

Sporting my own kitchen attire, this baby is ready to rock and roll at my son's house. 


I can see him making his pizzas and other creations on this space while singing. 

And his whole family will be happy. Danzig, the big guy in the back, first rescue dog who is a ball and swim athlete, and there is Miller, the three legged pup, baby of the family, getting all of his mom's attention. ( yes Dan is giving the "really" look) 


His garden veggies will have a great spot here instead of on the countertop.


Having a "butcher shop block" look to it, the size and shape is perfect for the knotty pine kitchen they have. 


~~~~~~~~~~~~~~~~~~~~~~~~~~~~~~~~~~~~~~~~~~~~~~~~~~~~~~~~~~~~~~~~~~~~~~


With Debra 

With Carole


August Welcome Wagon 


Wow Us Wednesday